Building a Custom Linux OS for Raspberry Pi 5 with Buildroot
So I did what any reasonable person does when they have a perfectly good OS already available - I decided to build my own from scratch. No pain, no gain, right? I went digging around online and figured out how to get a Buildroot-based Linux image running on my Raspberry Pi 5, and honestly? Once you get through the initial setup, it's not as scary as it sounds.
Here's the full breakdown of how I did it.
What Even Is Buildroot?
Before we get into the commands, real quick - Buildroot is an open-source tool that lets you generate a complete, minimal Linux system for embedded targets like the Raspberry Pi. We're talking a lean, mean, custom OS with only exactly what you put in it. No unnecessary bloat, no random services running in the background. It's basically the Linux version of meal prepping instead of eating out every night.
Step 1: Clone the Buildroot Repo and Get Set Up
First things first — clone the repo and navigate into it:
bash
git clone https://github.com/buildroot/buildroot.git cd buildroot
The git clone pulls down the entire Buildroot framework, which is the actual toolchain we'll use to build the OS. The cd buildroot just gets us inside that directory so we can start working.
Step 2: Load the Raspberry Pi 5 Default Config
Next up, we load in the default configuration profile for the Pi 5:
bash
make raspberrypi5_defconfig
If you're on an older Pi (like a Pi 4 or Pi 3), you'd swap out raspberrypi5 for the appropriate board name. Buildroot keeps a list of all supported targets and you can check them out at https://buildroot.org/downloads/manual/manual.html. This command basically tells Buildroot "hey, we're building for this specific hardware, set everything up accordingly."
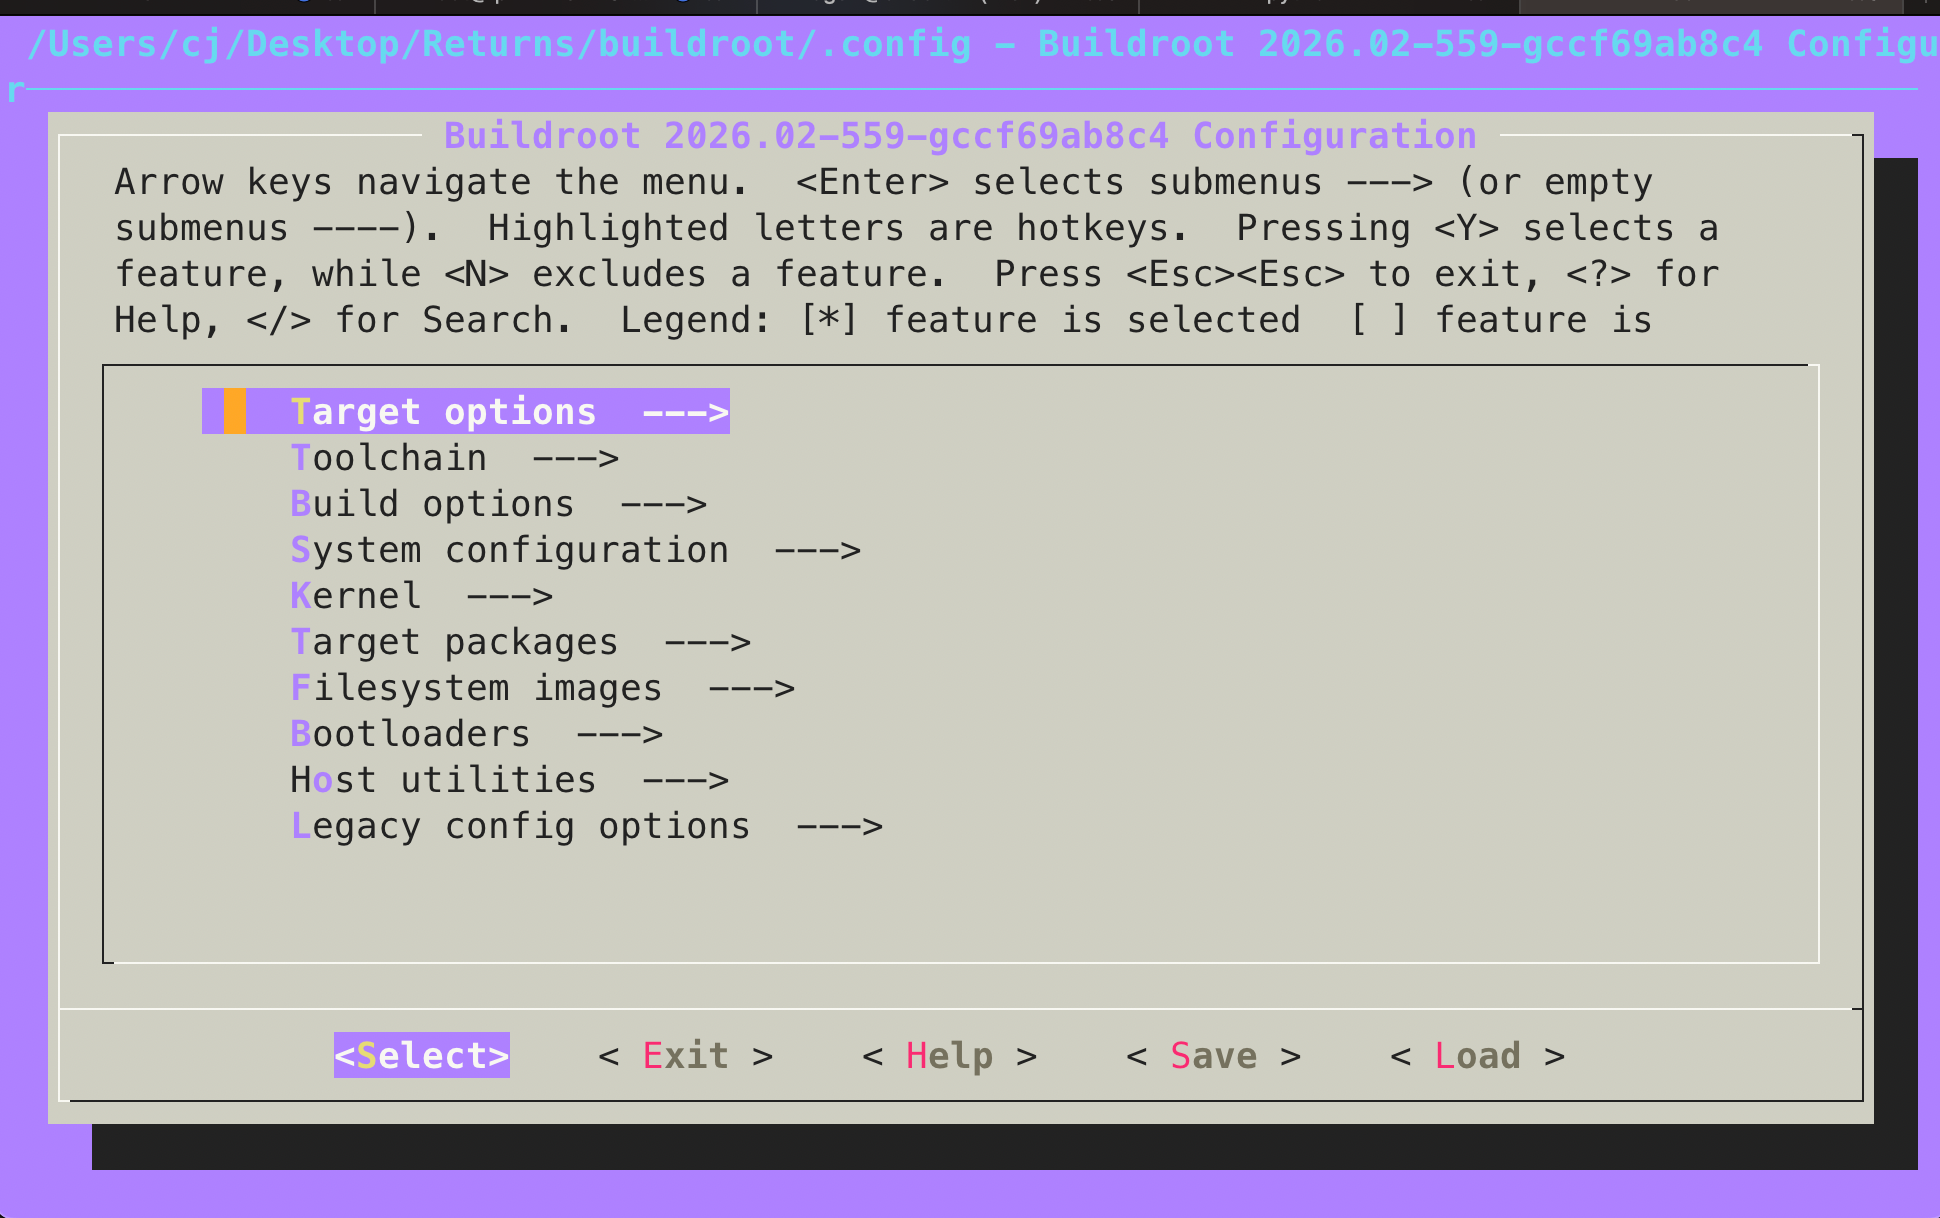
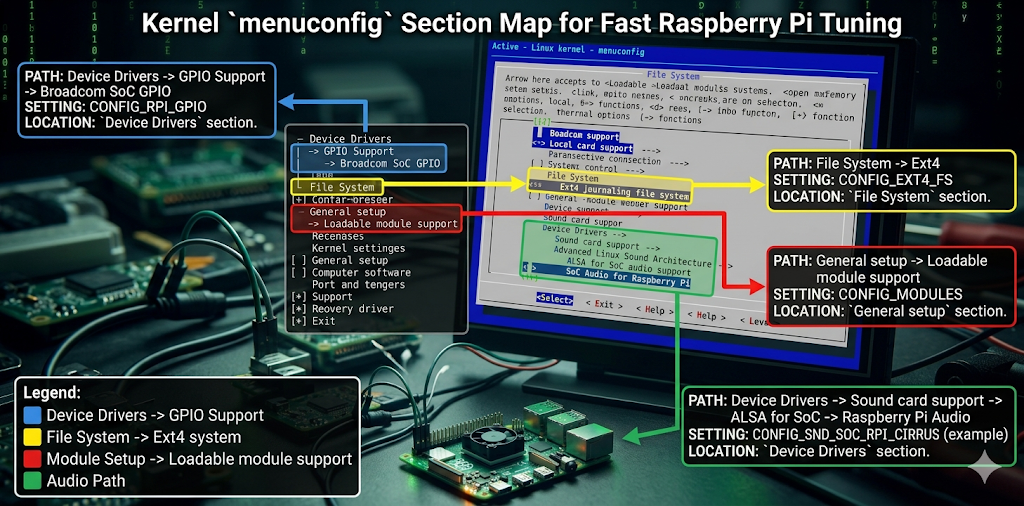
Step 3: Open the Menu Config (The Fun Part)
This is where it gets interesting:
bash
make menuconfig
This fires up a text-based GUI menu - think of it like the BIOS screen of your Linux build. You can scroll through it, enable and disable packages, and customize basically everything about your OS before you build it. If you literally just want a bare-bones OS and don't need anything extra, you can skip this and jump straight to the build. But where's the fun in that?
Step 4: Customize Your Build Settings
Here's what I specifically changed inside menuconfig before building. Each of these has a real purpose for my project:
System Configuration:
- Changed the system hostname to something custom (gotta brand it)
- Set a root password — because leaving it open is the kind of decision that haunts you later
Networking:
- Enabled the SSH server (Dropbear) — this lets me SSH directly into the Pi over the network without needing a monitor or keyboard. Dropbear is a lightweight SSH server perfect for embedded systems. More info on Dropbear here.
Hardware:
- Enabled UART for ESP32 communication — the UART (Universal Asynchronous Receiver-Transmitter) serial interface is how the Pi will talk to my ESP32 microcontroller. If you're doing any IoT or hardware projects, this is a must. Check out the ESP32 UART docs if you're not familiar with how UART works.
Software:
- Added Python 3 - needed for the graphical interface I'm building later down the road
- Added the Python serial module (
python-pyserial) - this is what actually lets Python scripts talk over that UART connection to the ESP32 - Added Verilator - this is an open-source RTL simulator I'll be using for hardware simulation work. If you're into FPGA or digital logic design, Verilator is a seriously powerful tool
- Added Git - because you always need Git
- Added Nano as the text editor - Vi/Vim users, I respect you but I'm not doing that to myself on an embedded system
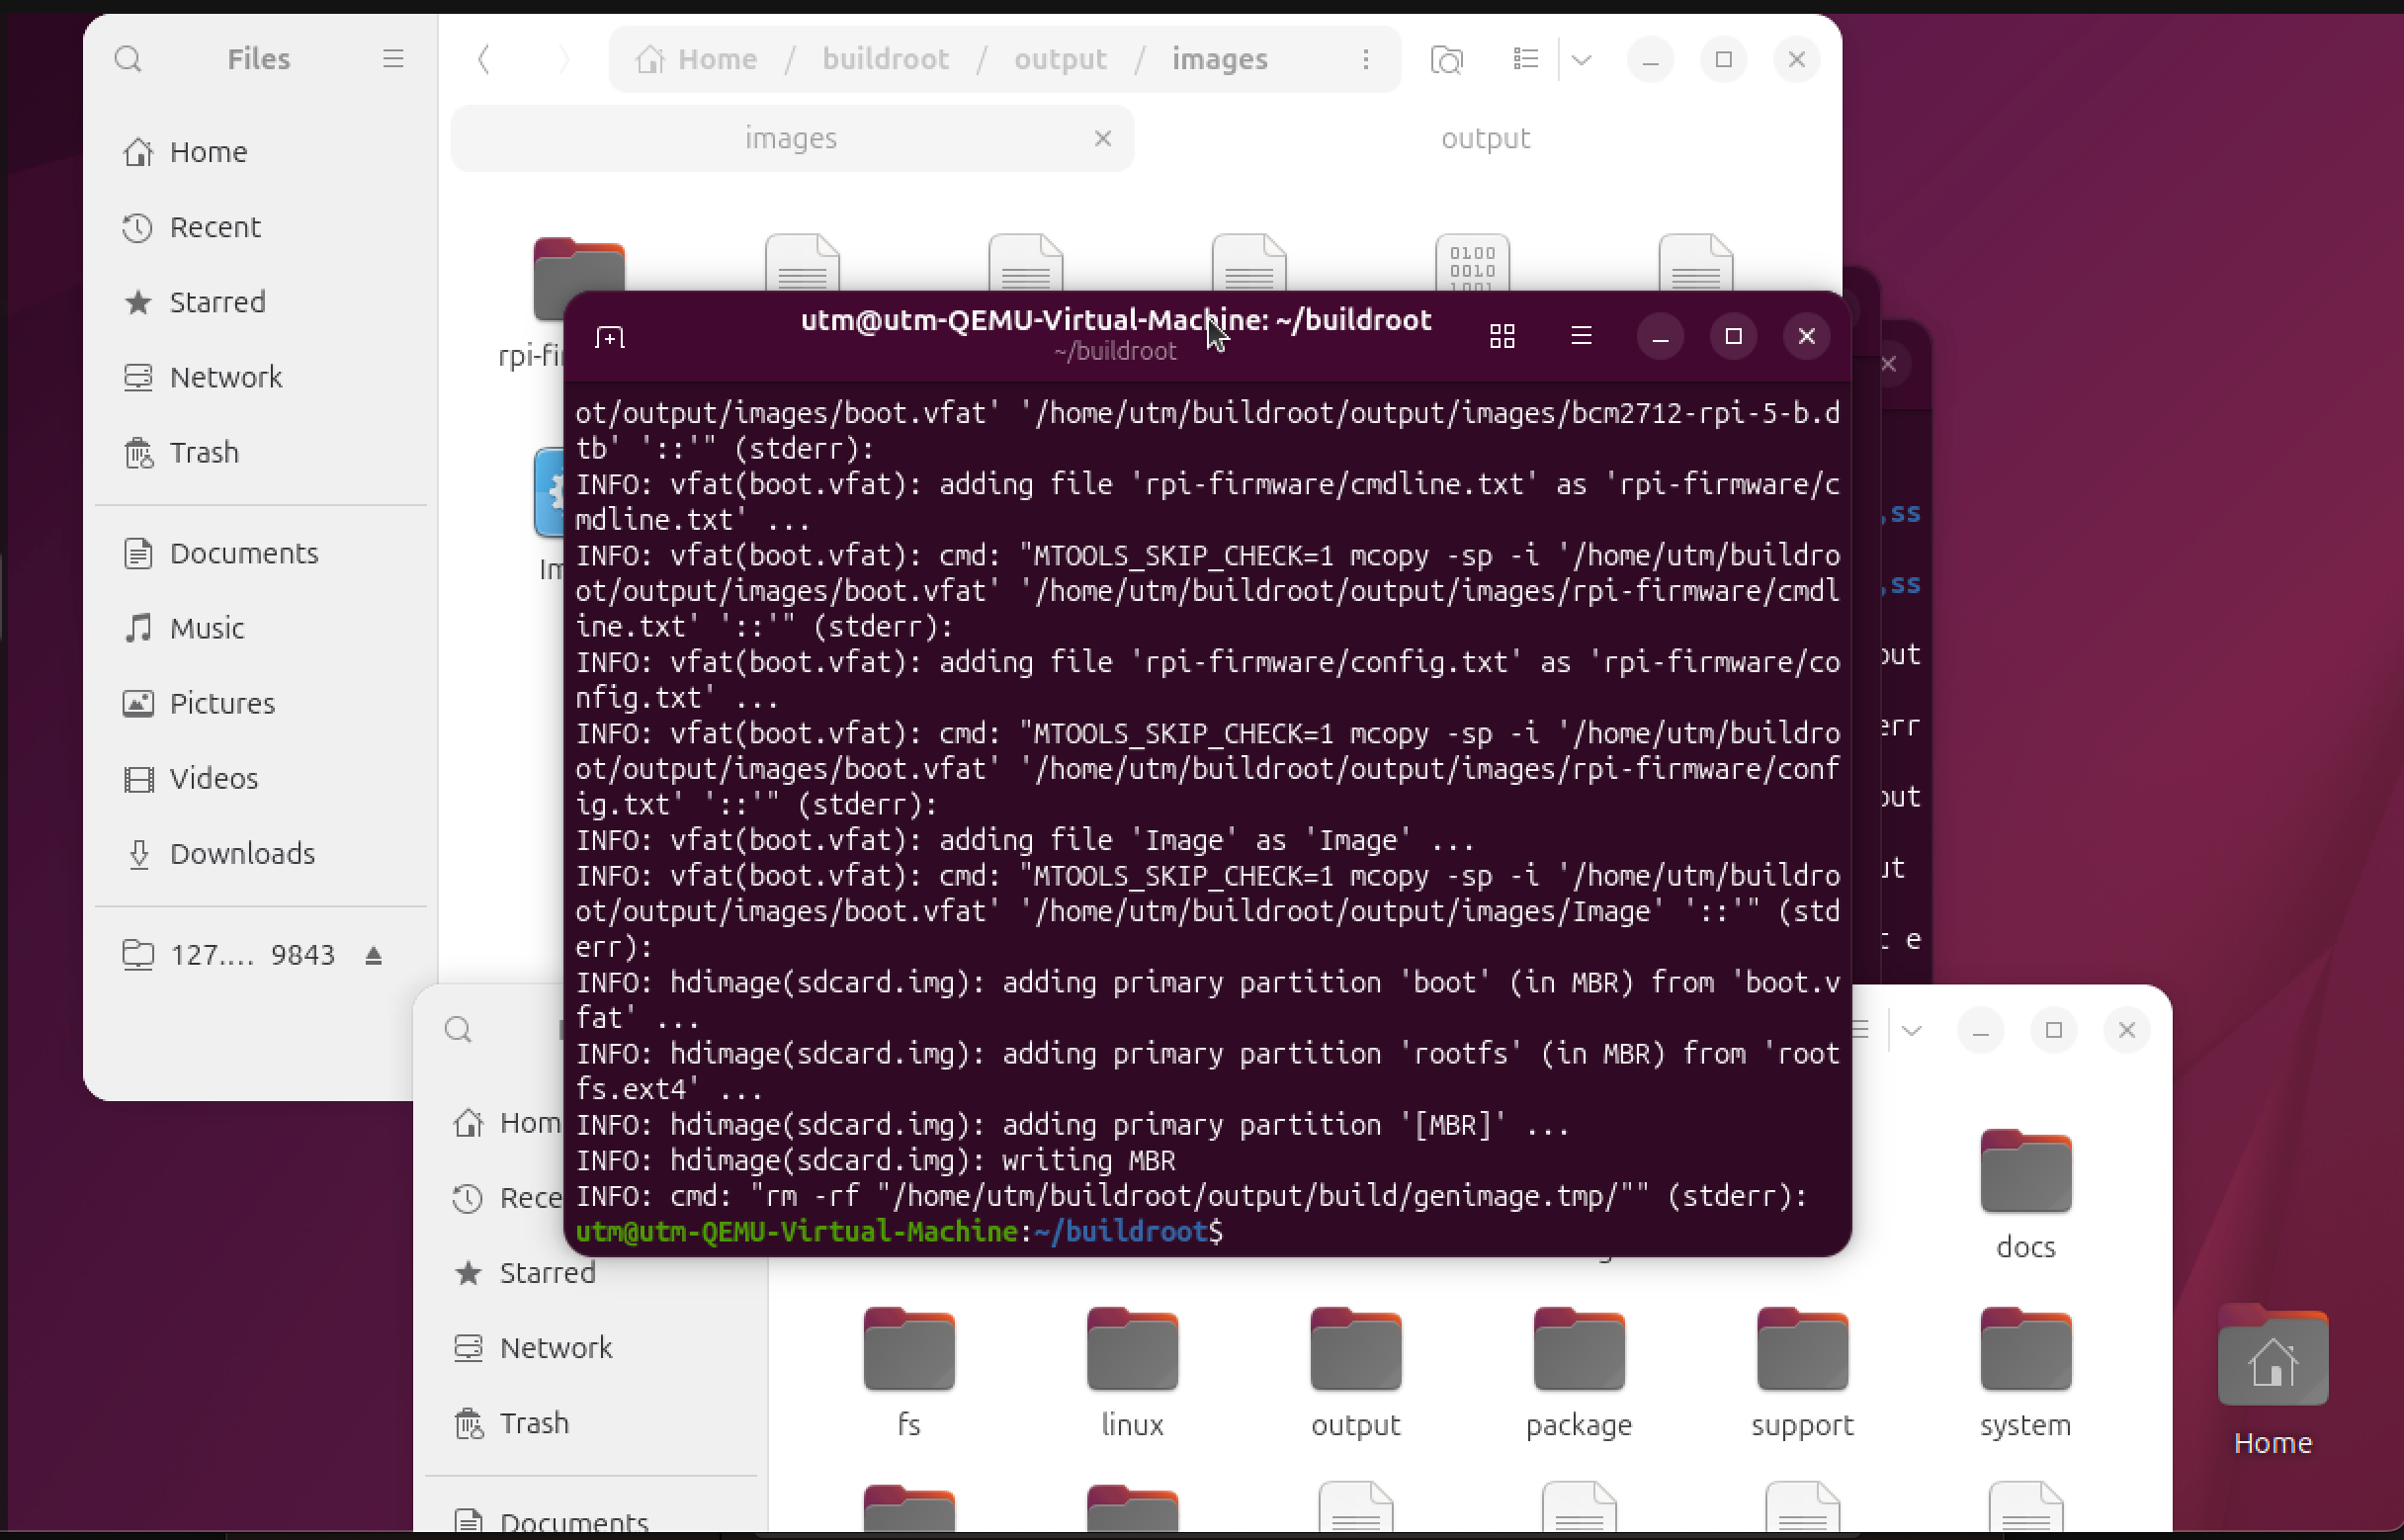
Step 5: Build the OS
Once all the settings are configured, it's time to kick off the build:
bash
make
Fair warning — that first build took me about 20 minutes. It's a full cross-compilation pipeline, it's pulling toolchains, compiling packages from source, the whole deal. Go make some coffee, watch an episode of something, touch grass. After that first build though, incremental builds (where you add a package or change a setting) are way faster since Buildroot caches what it's already compiled.
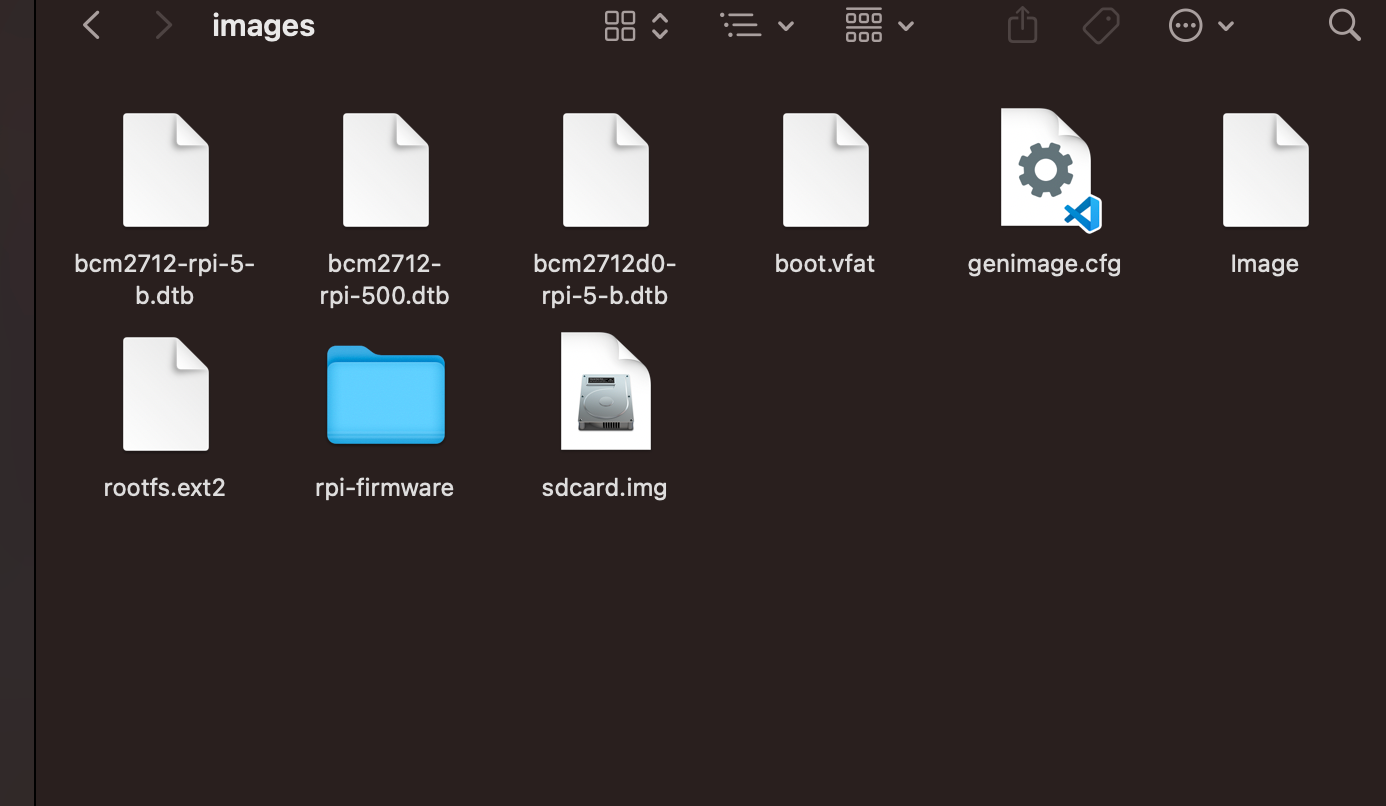
Step 6: Find Your Image
Once the build completes, navigate to the output directory:
bash
ls output/images/
You'll see a file called sdcard.img — that's your entire custom Linux OS, packaged up and ready to be flashed.
Step 7: Flash It to Your SD Card
Plug in your microSD card and flash the image. On Linux/Mac I used balenaEtcher — it's free, dead simple, and handles the whole process with a GUI. If you prefer CLI you can also use dd:
bash
sudo dd if=output/images/sdcard.img of=/dev/sdX bs=4M status=progress
Just double-check your device name (/dev/sdX) before running that — dd doesn't ask questions or apologize. Wrong device = wrong day.
On Windows, Raspberry Pi Imager works great too and has the "use custom image" option built in.
Step 8: Boot It Up
Pop that microSD into your Raspberry Pi 5, power it on, and watch your custom Linux OS come to life. Since we enabled SSH and set a root password, you can connect to it over your network without ever needing a screen:
bash
ssh root@<your-pi-ip-address>
And that's it. You built and booted a custom Linux OS from scratch. No tutorial hand-holding, no bloated Raspbian install, no unnecessary packages. Just exactly what you put in.
What's Next?
This is just the foundation. Coming up I'll be:
- Setting up the Python serial interface to communicate with the ESP32 over UART
- Building out the graphical interface layer
- Running RTL simulations with Verilator
If you're following along and building something similar, drop a comment -would love to see what configs other people are running.